
Completed Restoration
The final Digital Captek restoration features proper form, function and esthetic porcelain blends; the broad contacts requested by Dr. Melkers; and the internal surface of Captek Nano with a 360o metal collar to maximize plaque resistance, soft tissue health and tooth protection.
Step 8:
Opaque and apply porcelain as you would for any PFM restoration. I used a dry, four-powder d.Sign porcelain buildup technique, and applied A3.5 dentin at the cervical, A3 dentin at the middle and the appropriate incisal porcelain at the incisal one third. After the first firing, I used the same dentin shades and, instead of applying incisal porcelain near the occlusal surface, I used a neutral porcelain to give it the gray hue the doctor was requesting.
Step 7:
Using a sprinkle technique, apply the new UCP (Universal Coupler for Porcelain) bonder then fire the coping in a porcelain furnace at 1,058oC with a one-minute hold. This creates an optimal ceramic metal bond along with a light-refractive surface for enhanced porcelain optics.
Step 6:
Finish the margins at the edge and polish the coping using a diamond bur and polishing wheel; Captek offers a finishing kit for this step.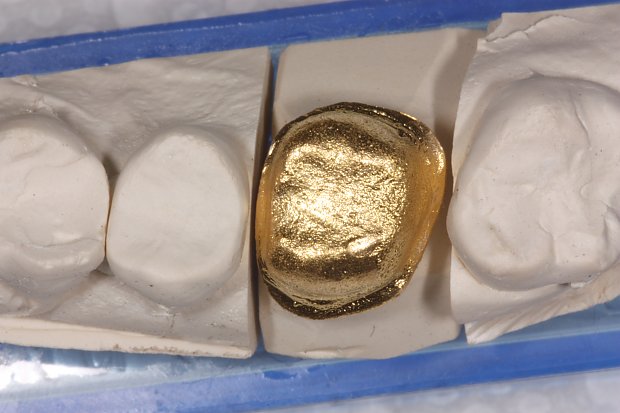
Step 5:
Place the Digital Captek coping onto the original die. With traditional Captek restorations, we always performed the swedging technique when transferring the coping from the refractory die to the original die, but find that this is no longer necessary with Digital Captek restorations.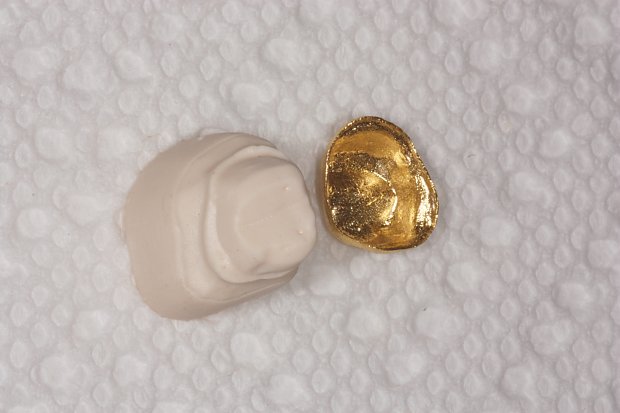
Step 4:
Within two days, we received the coping (most are .23mm) and printed die which is great to use as a finishing and check die.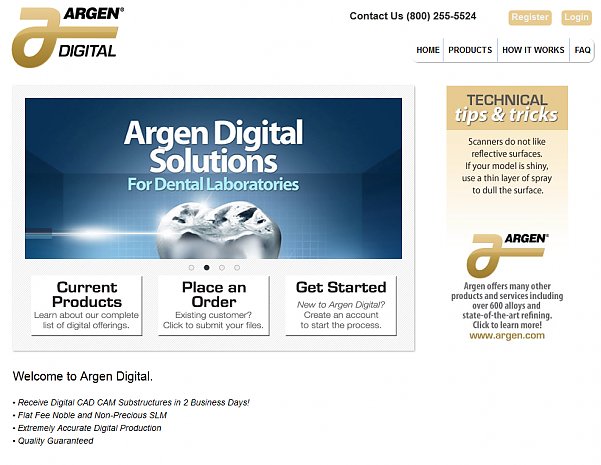
Step 3:
Upload the file to the Argen Digital website (www.argendigital.com) and select either a lingual, 360o or no collar. The Digital Captek restoration is developed on a hard plastic die and fabricated with Captek Nano series materials and internal strut reinforcement.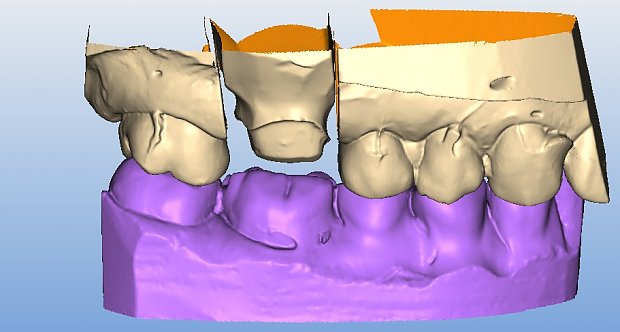
Step 2:
Scan the die using an open architecture or Sirona inLab scanner; we use our Origin Scanner with Exocad software.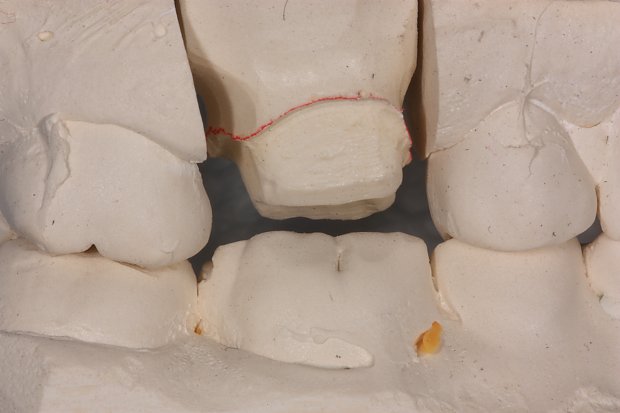
Step 1:
Pour up the models and evaluate them for proper occlusal clearance. In posterior restorations, if the doctor requires full coverage porcelain, we require 1.5-2mm occlusal reduction and we don't waver from this. This simple quality control step can prevent fractures and resulting remakes. Using a half-round carbide, mark the buccal surface of the die about 3 to 4mm under the margin edge.


Article
Rob Teachout, BS, CDT, shares the step-by-step technique for using Argen's new digital service for high-strength, Digital Captek restorations.

Author
Rob Teachout
CEO at Patriot Dental Lab · Prescott, MI
Love this industry!!! Enjoy being around techs with the same thinking.

Subscribe to LMT Magazine. It's FREE to U.S. addresses.


April 2013
Browse all articles from the April 2013 issue of LMT Magazine
-

James Dodge
Director, Tech Operations at Red Rock Dental Laboratory · North Las Vegas, NV
-
Smart Redesign Delivers More Space in Same Footprint
Kim Molinaro · Inspiring Interiors · June/July 2025
Instead of building a costly addition to its Maumee, OH, facility, Lantz Dental Prosthetics worked with an architect to create a better layout within its...
Here are eight strategies for ensuring a safer environment for your business.
Renstrom Dental Studio: Truly a Family
Jennifer Ludwig · I Want to Work in That Lab · June/July 2025
Lino Lakes, MN; 72 employeesOwners: Randi and Scott James A third-generation, family-run business, Renstrom Dental Studio in Lino Lakes, MN, is built...
Cosmetic Dental Specialties: Quality Over Quantity
Jessie Blanchard · I Want to Work in That Lab · June/July 2025
Portland, OR; 15 employeesOwner: Brianne Lequerica-Munday When I first joined Cosmetic Dental Specialties in Portland, OR, in 2021, I was used to being...
Trains, Planes and Automobiles: The Global Impact of 3D Printing
Kelly Fessel Carr · Publisher's Page · June/July 2025
As we were organizing our Product Focus on 3D Printing Materials for this issue